Monday, November 24, 2014

Fighting Winter

The weather has really halted me from making any progress on the painting or other tasks.  This past weekend I was able to get all the inside cleaning done and then about half way on the floor primer but then it dropped temp by 25 degrees and now I am just running a space heater in the bus to get the paint to dry from yesterday....  If I can get the Bullseye 123 primer done and dry then the latex paint to go on top of that only needs it above 35, so should be in good shape if I can just get a couple more good days, otherwise I'll have to get a better space heater....


Also started on painting the top yesterday, but decided the roller I was using wasn't going to work, I got a stiffer foam one at Home Depot today and that should work better at not filling in the holes.  I will have to poke out some of the ones from yesterday though....


Saturday, November 8, 2014

Rust / Batteries / Wheels / Back Heater

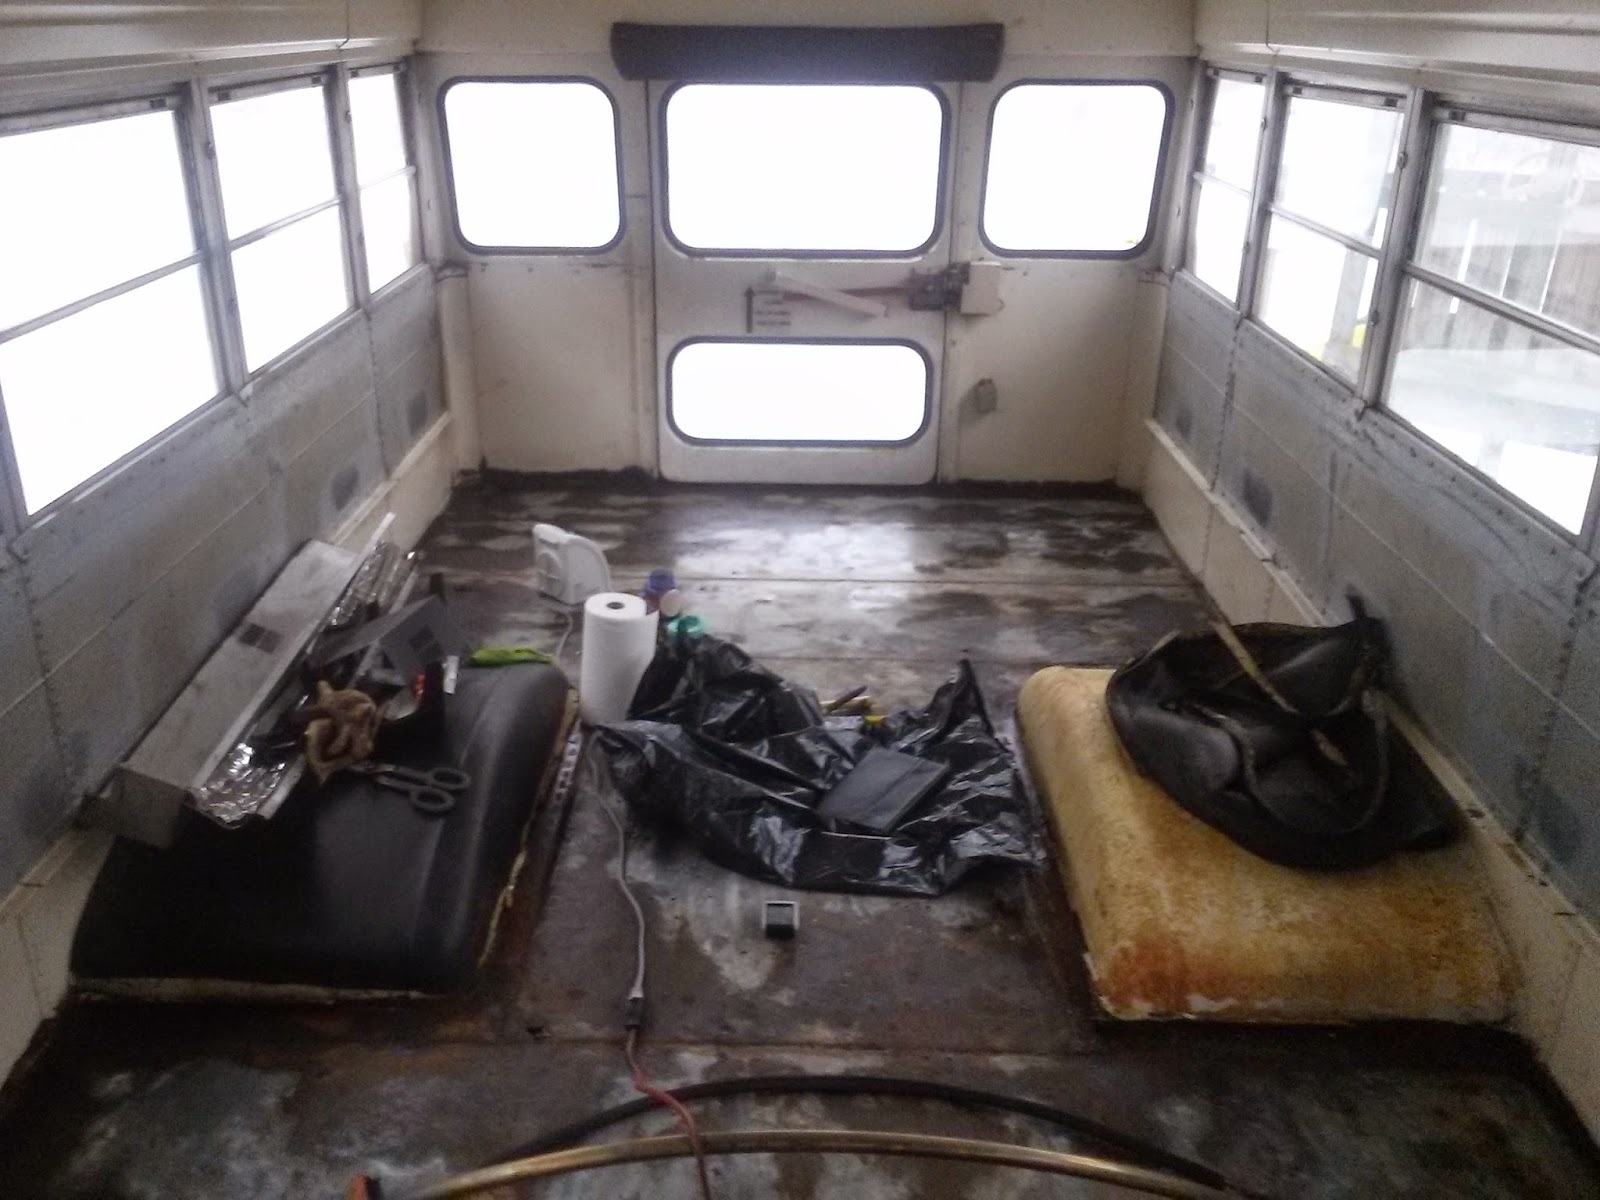
Got a 4 1/2" saw and a wire blade for getting rust off metal, $35 for both....  Works very well on rust inside, worked at it for a few hours and about 75% done....


Heres a before and after on one if the real bad spots....
Before.....


After....


Also, bus wouldnt start yesterday, got some help on some online message boards and assumed it was a battery issue.... Took out batteries and took them to Autozone to have them tested, they were low on charge so I had them charge them (free).  Started great after the charge!  Also ran the bus for 45 min or so after I got it started today on fast idle, then took out the batteries and will store them indoor for the winter.....  Heres a shot of the battery cknfig, just so I know in spring :)


Also, for winterizing - we backed the bus onto some plywood boards that we cut to the right size from the inside. 


And, lastly, one of the next tasks on the to-do is seeing about taking out and disabling the back heater.   From what I understand it is just anti-freeze that runs through the coils and then electrical for the 2 fans underneath.  Seems like it will be a two step process.... Step one, stopping and collecting any anti-freeze from the lines and plugging the end somewhere.  And step two disabling the electrical for starting the heater- perhaps just taking out any fuse and switch.  I have no idea how to do either of these steps as of now... So if you have any advise or knowledge on this type of thing, please contact me or comment!  Here's some shots of the heater and tubes.  Thanks!  ...more to come soon...


And here's where it connects to the driver area, right behind the driver seat. 


Monday, November 3, 2014

Down to Bare Metal

With Karen's dad Mark's help, we got all the plywood up this weekend!  There were a lot more nails then I expected, and the plywood fought us, but in the end we won.


Next up is getting all the nails out, then sanding the floor down.

Friday, October 31, 2014

Seats 3/Floor 1

Got all the seats out... figured that was the way to go since we are going to do the whole flooring and everything right away.... We can always put some back in if we decide to....


Then started ripping out the rubber flooring and then the plywood underneath.... It was black and rotten in the back of the bus, disgusting, but glad to have it out of there.... Hope to get all the plywood out and have the outside painting done by the end of the weekend, I think we can do it.


Tuesday, October 28, 2014

Seats 2

Thanks to my new Skoolie friend Shawn who came over and let me check out his amazing bus and helped with me getting the seats out, we got them all out in around an hour.

Among loads of spilled soda and candy wrappers we also found a half deck of cards, a ring, a pack of gum, but some how no money.....


Here's a quick shot of his amazing bus....

Sunday, October 26, 2014

Flashing Lights 1

After a bunch of research and recommendations online I decided to get sheet metal and cut out pieces the same size as the lights, then use the same screw holes and some adhesive.  I am sure that I didn't do it right, but it was the first go at it... it's messy but it will work, I'll be better on the other ones, got two done, 6 to go.....


Seats 1

Turns out it's not going to be as easy as un-screwing the bolts.... I went to home depot and get a little drill that will cut metal, I was hoping to cut off the tops of the bolts easily, I got a few off, but it takes a while, not the best saw for it... I got one seat out though, although two of the 4 bolts on that one just snapped off.  I have a friend coming over today with a 4" saw that should be able to get them off easily.


Painting 3

Getting close to being done now.... Just need to do some of the hard to get to areas and the details.... Looking good though!  After pulling off the tape over the yellow reflectors I realized that it was going to slightly look like a Packers bus..... Hope I don't get too much blowback from that, it'd be way better if we were in WI,


Sunday, October 19, 2014

Painting 2

The green coat I put on once and then once more over after it slightly dried, ended up giving it a really solid nice green.  I'm really happy with how it is turning out.   About half way done or more with the whole painting project, although we still have to get the lights off on top and do some more detail painting..... Then on to the seats.


Friday, October 17, 2014

Paint

I found a lot of Facebook groups that connected me with people who have done this type of conversion before, so that helped me with a lot of ideas and questions.

I was able to find the right paint to get, Rust-Oleum from Home Depot, and after reading the label on the paint also bought the primer for a better coat.  We wanted the bus to be olive green, but they only had certain colors, so I got the hunter green paint and the white primer, hoping the white primer would lighten up the green a bit, we will see.

Also took off the stop sign.

Couple of days of painting and I have the primer pretty much done.  I used some of that blue tape to save the black lines and other black areas.


Day 1...


Day 2....